Thursday 21 March 2019

Phonic 21 : Lego Spelling Test

Focus : Spelling
Skills : Writing, Listening, Phonemic Awareness
Year : One

Assalamualaikum and Hi!

Today, we had some kind of changes in our Spelling Test Day. I intended to bring some fun in spelling test since they tend to be so bored and scared every Thursday. So, I came up with this spelling activity using Lego bricks. Bought this lego bricks (4 sets) through Shopee last year and it was pretty cheap. 


So, first thing first, we watched a video from Supermind (Supermind textbook page 6) and sang here and there. I bought my own portable projector (rechargeable) which is pretty good but it would've been better with darker lighting.


Then, I divided them into groups of 4 (because I have only 4 sets of lego bricks). These groups of course mixed ability (the best one in proficiency will be the leader). Then, I distributed a Lego Spelling Test Worksheet (as follows) :


So, next, I started the spelling test by saying out a word. Pupils spell together. Then, I wrote the words on the whiteboard and they copied on the worksheet. This worksheet is made specifically for three-letters words (see the three rectangle on top of the lego bricks). After that, they formed the letters using the lego bricks (its a competition between the groups just to make it fun). 

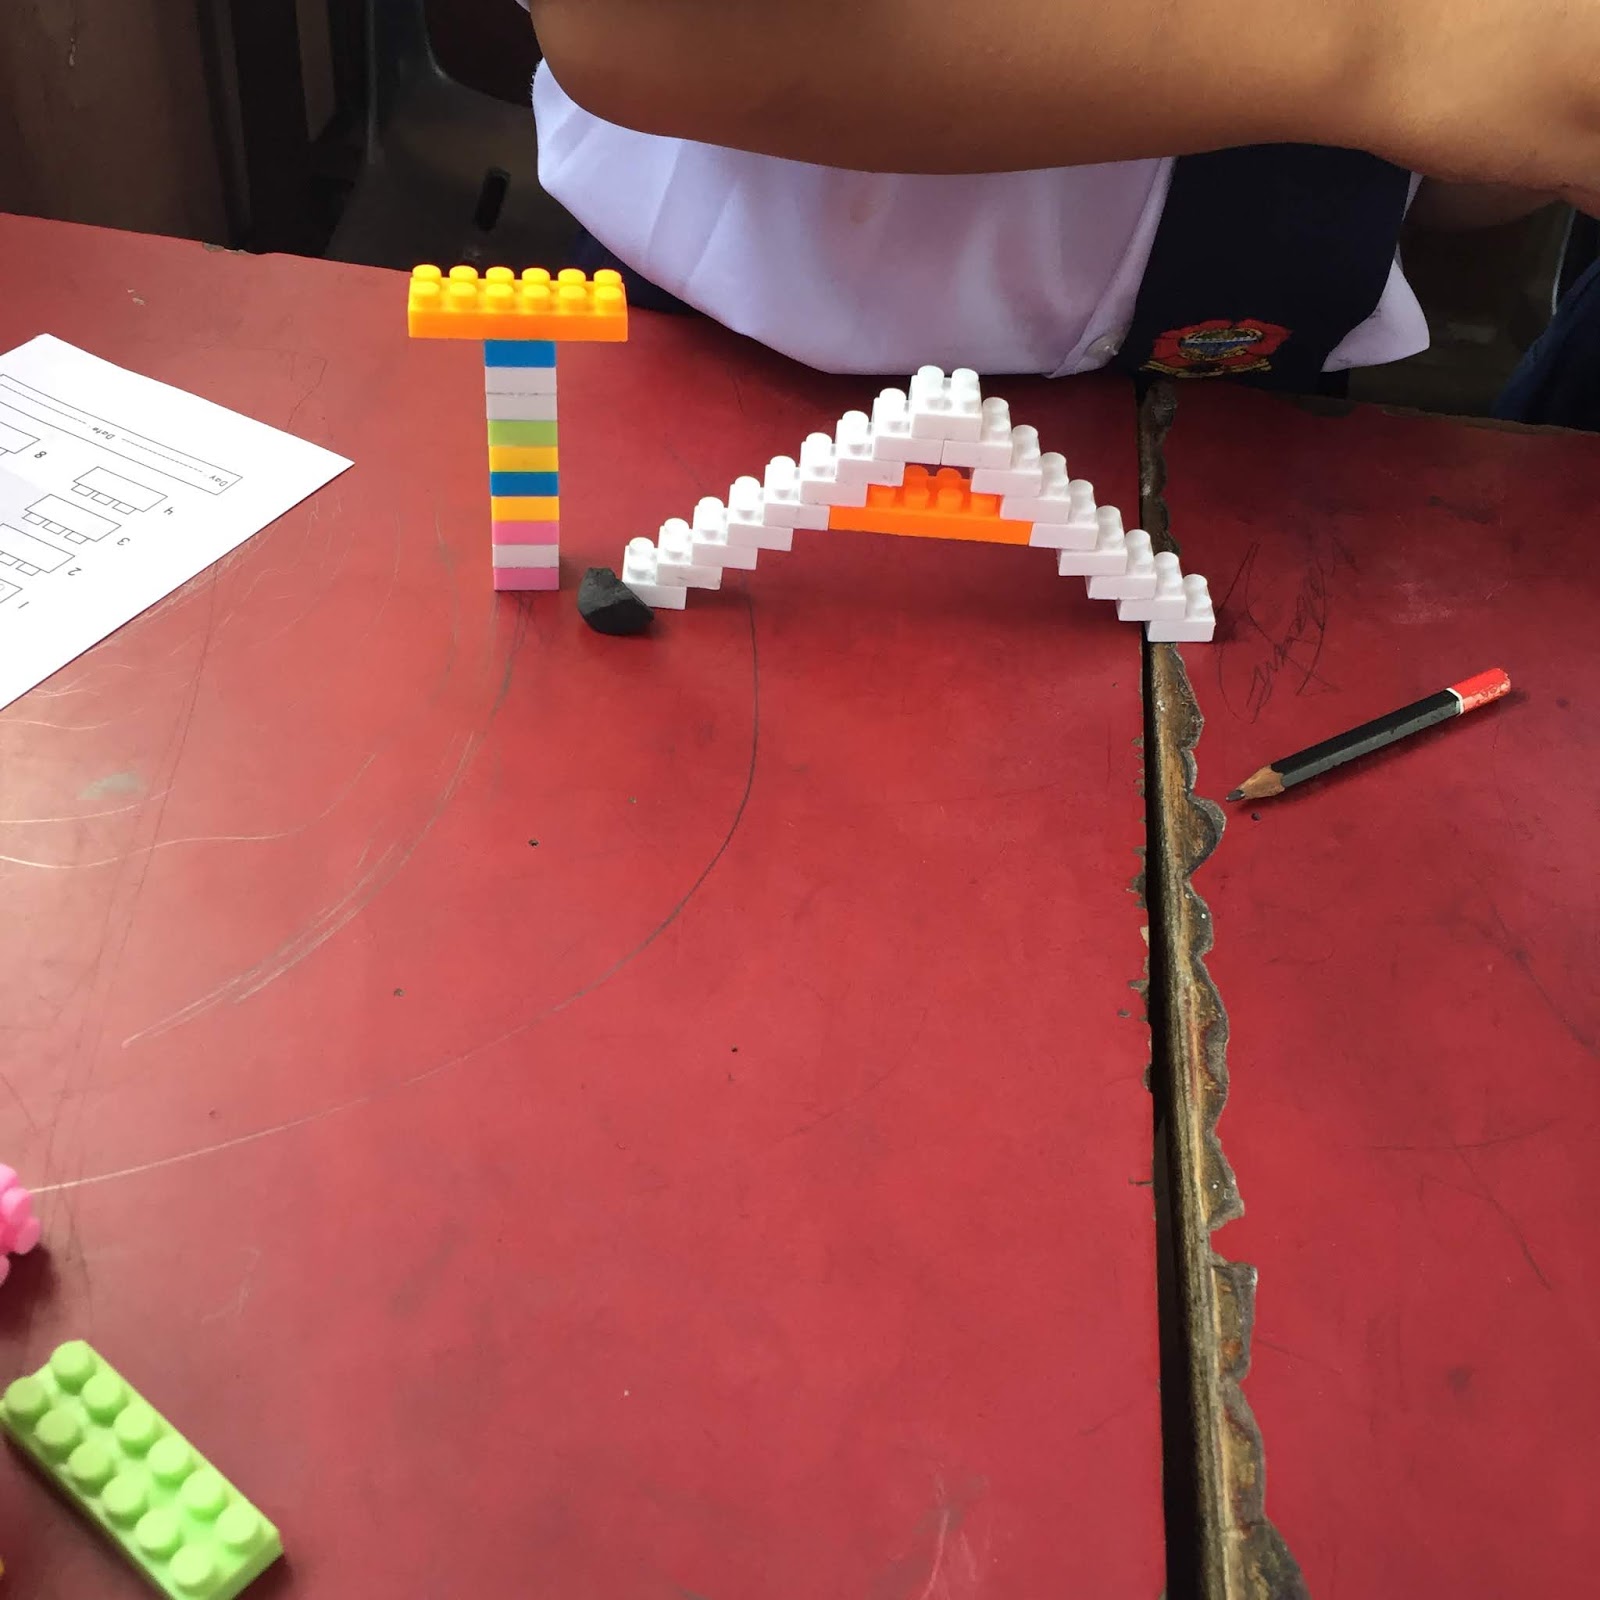
Here's some photos from the activity conducted :


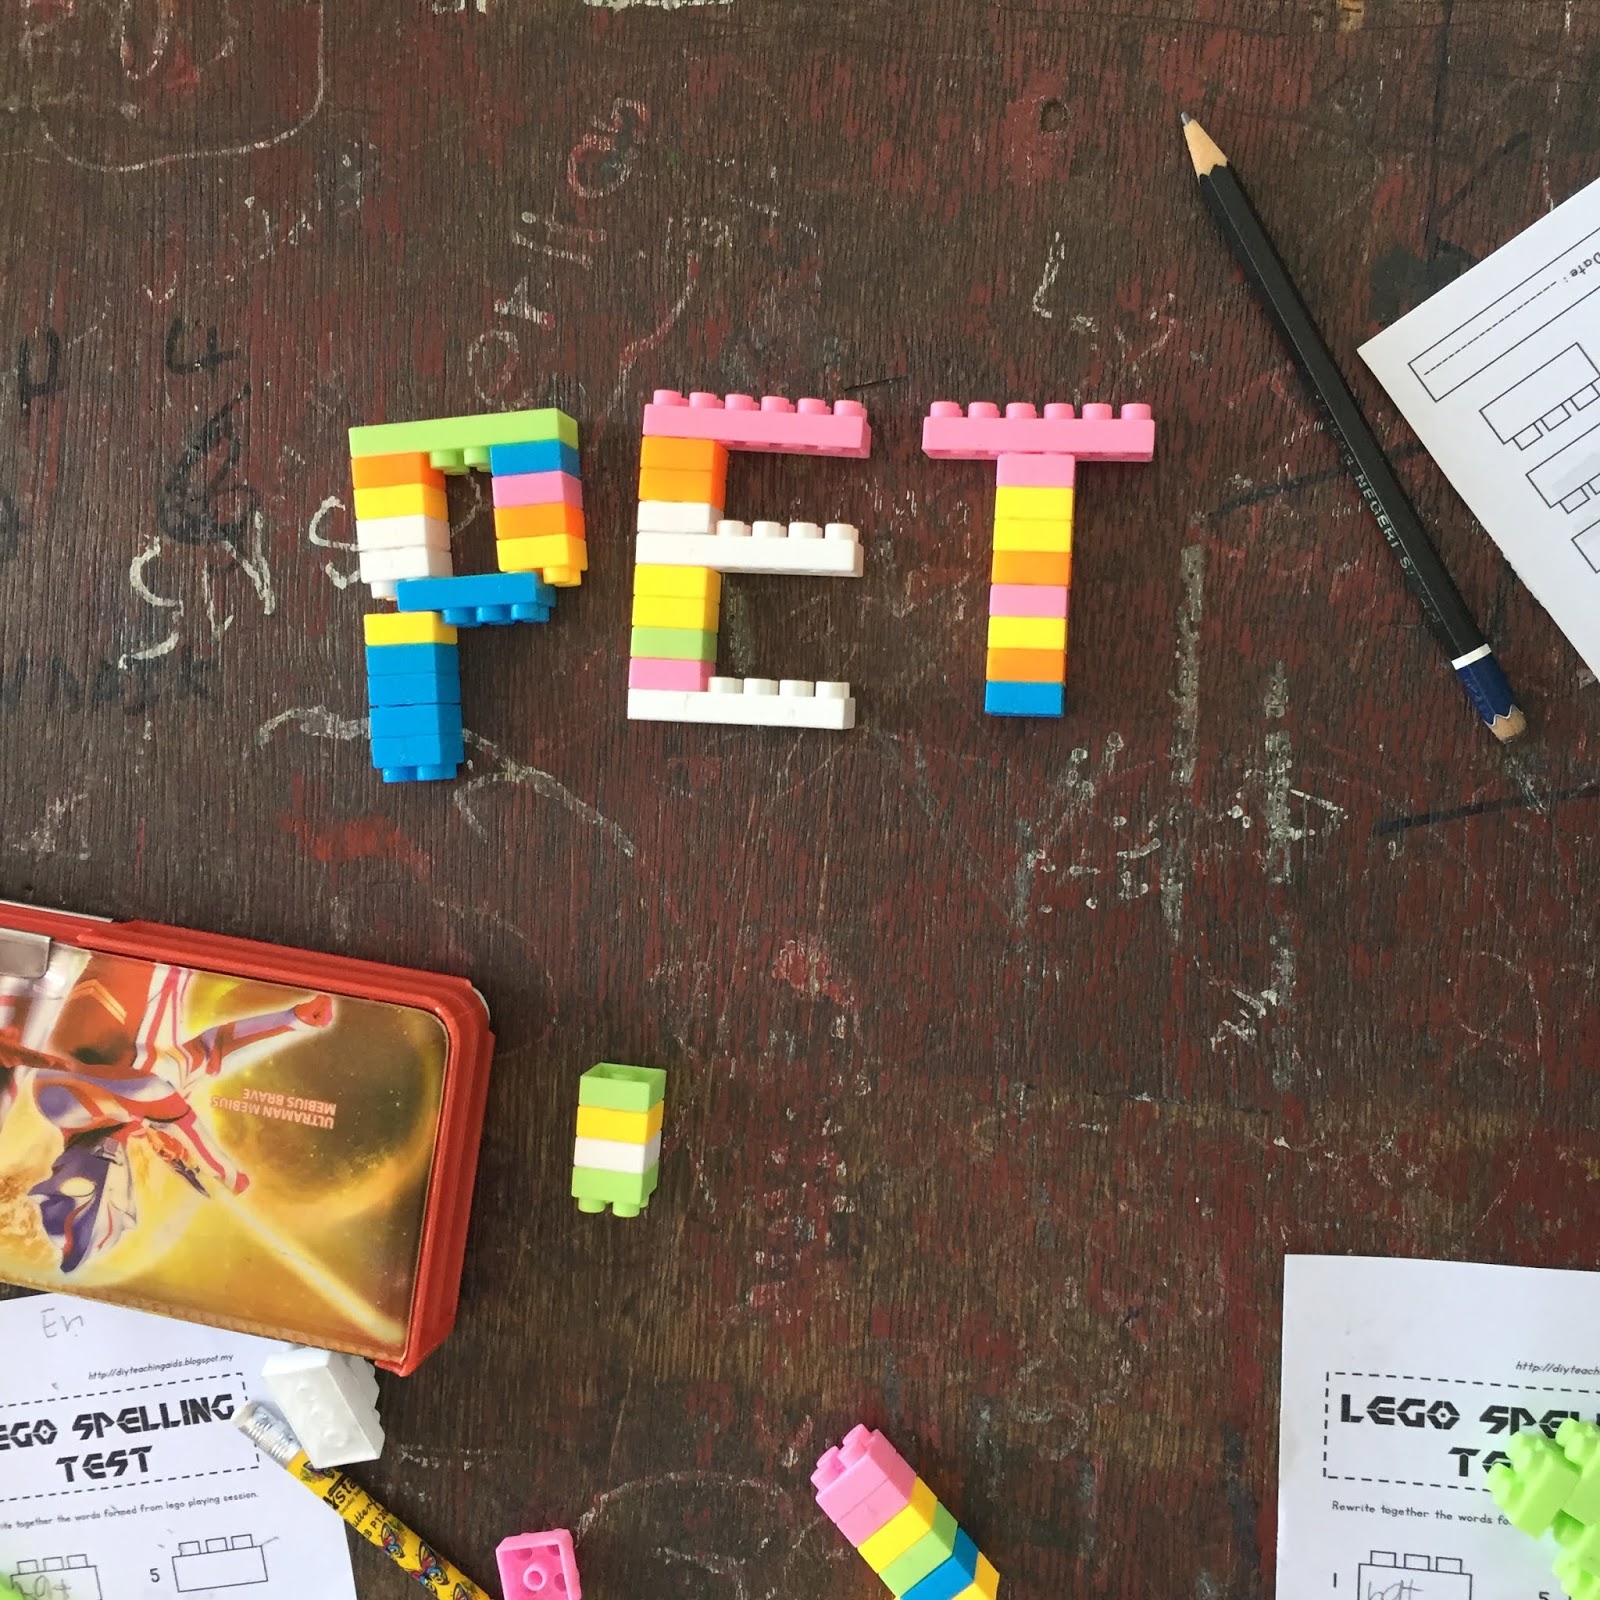
Anddd these are some works from my pupils :


It really tested their imagination on creating letters using these lego bricks. Plus, I wanna train them to tolerate with their friends and learn to share more in a good way. The good thing is I found that my pretty good students did pretty bad in this activity of shaping letters using lego bricks since they managed to reach the sixth words only, while my other two classes (low proficiency classes) did all eight words with 10 minutes remaining time. Overall, all of them did pretty well in this activity, no fights, no egoistic thing etc. :D


That's all. Thanks for reading! :)


Wednesday 20 March 2019

L & S 20 : Meet the Super Friends

Skills : Listening, Speaking, Writing
Year : 1

Assalamualaikum and Hi!

So, today, we did a simple activity but with few discussions to recall what the pupils have read and listened. I let my pupils listened to the Supermind audio (CD 1, number 10 for textbook page 8). Then, I handed out this one picture as below :


Through this, we discuss the names, age and their powers. So, after fully discussed, we continued with this simple mind map. As you can see below, my pupils did pretty well. I've got many works to do so I only managed to captured two of my pupils' works.


As usual, I provided the softcopy of the picture below :


That's all. Thanks for reading! :)

Monday 18 March 2019

Writing 14 : Write, Colour, Cut

Topic : Friends
Focus : Colours
Year : One

Assalamualaikum and Hi!

Just received my marks for PBPPP and something unexpectedly happened. But nevermind. Thnak God I made a decision to teach writing using arts again today. So, my mood was pretty okay, the kids were happy and that made me even happier. So, here’s a glimpse of whatbwe didi today :


So, all you need are template of these which I downloaded from the internet.


That’s all! Thanks for reading! 

Tuesday 12 March 2019

LA 30 : DIY Kinetic Sand


Skill : Language Arts
Year : One
Topic : Friends

Assalamualaikum and hi! Its a great day for me since its Language Arts day! Minor stress, minor madness, better mood of course. Well, I’ve been searching something fun and new for myself and my kids. Luckily, I stumbled upon this video from Youtube, related to making kinetic sand without using sand! Which is pretty impressive for me. So, let’s see how it goes!

WHAT DO YOU NEED? 


*Make sure to use white toothpaste and not the gel one. 


HOW TO DO IT?


1. Put some toothpaste in a cup. Add some colour. Stir.


2. Add two tablespoons of salt. Stir. If the consistency is not as good as how kinetic sand should be, add more salt. Stir.


3. Add few drops of baby oil. This to ensure the texture become a little bit sticky but in a good consistency. 

4. Done and of course, play with it! 


Here’s some photos of today


That’s all. Thanks for reading! 😊


Popular Posts

Copyright © DIY Teaching Aids | Powered by Blogger
Design by Viva Themes | Blogger Theme by NewBloggerThemes.com